Wednesday, 15 January 2014

Rivers of Blood – The Viktorias


It seems I’ve been getting a lot of games in recently so the next entry to the Rainbow Challenge is coming out in record time! This time I’m talking about my experience with the Viktorias against John and his Outcast Tara crew.
                     
           
The Advice

I wasn’t able to find a lot on the Viks aside from a couple of threads on the Wyrd forums. If anyone else finds something, let me know!

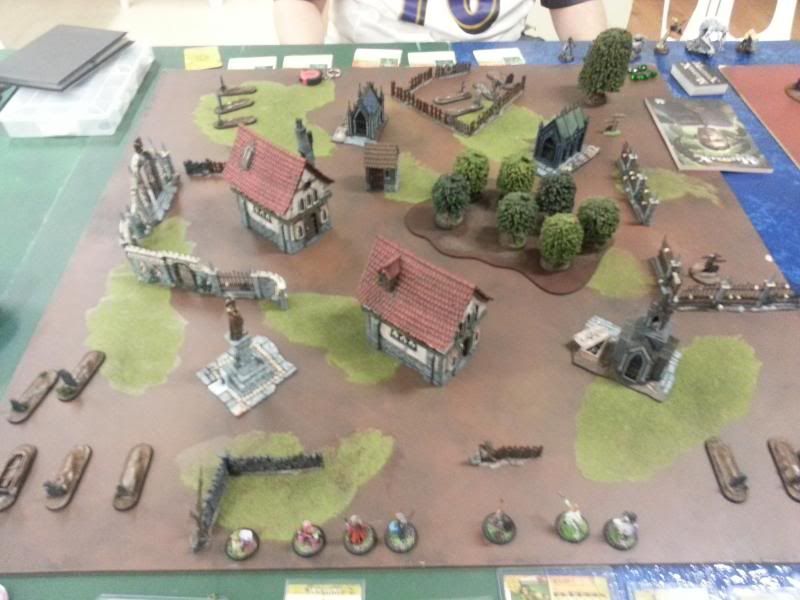
The table - most of the killing went on around that house on the left.

The Game

45SS, Standard Deployment
Strategy: Reckoning
Schemes:
- Make them Suffer
- Outflank
- Breakthrough
- Bodyguard
- Line in the Sand

I swear, I committed to using the Viks before flipping for Strategies & Schemes!

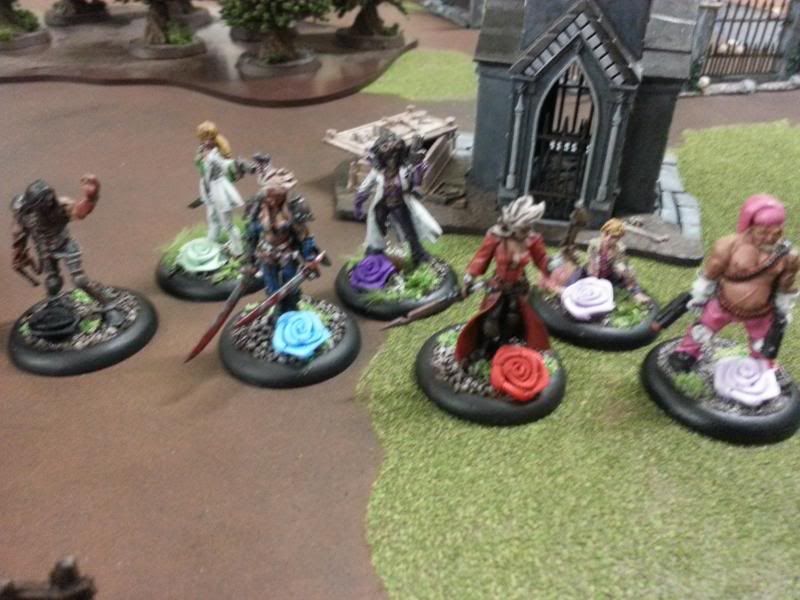
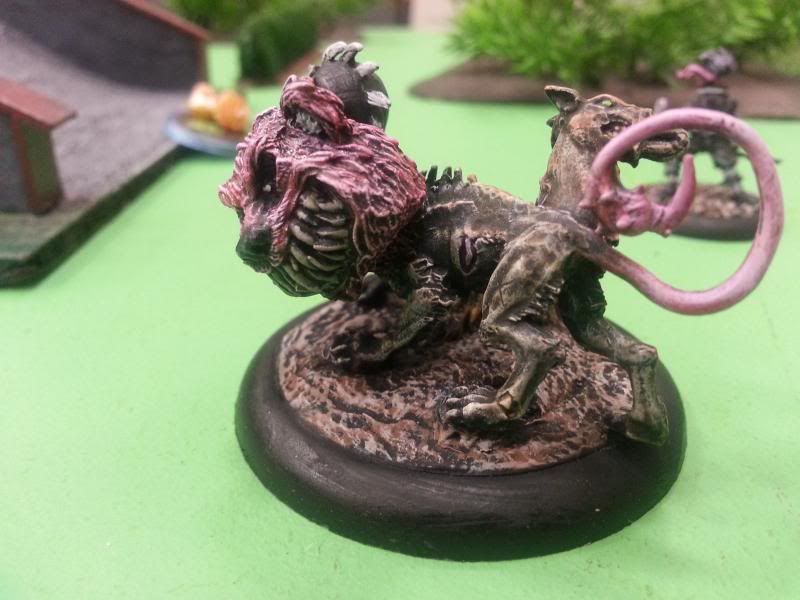
I really thought I'd taken a better pic than this...

The List

Ash Vik
- Sisters in Fury
- Sisters in Spirit
- Synchronised Slaying
Blood Vik
- Mark of Shez’uul
- Oathkeeper
Bishop
- Oathkeeper
Convict Gunslinger
- Oathkeeper
2x Ronin
Malifaux Child

So the first thing you might notice – I went for the Malifaux Child over a Student of Conflict! The Student is certainly rated very highly and I initially did intend to include it. But as I made my list, I realised I could instead use Oathkeeper on Blood Vik to give her the fast condition on a critical turn. It took up an upgrade slot, but it did mean I wasn’t tied to keeping Blood Vik near the Student. Also a Malifaux child, could save Ash Vik and AP by casting Sisters in Fury, plus he’s got a healing spell if I can spare a 7+ Rams. Sisters in Spirit (for the teleport) and Synchronised Slaying (for Accomplice) were essentially there to let me slingshot Blood Vik to where he needed, and Mark of Shez’uulis just plain great.

The rest of the crew was pretty standard – I wanted a Convict Gunslinger for some area denial duties on a flank and Bishop is just a Swiss army knife of awesome. Everyone who could got Oathkeeper, since Fast is pretty difficult to pass up!

For schemes I went for Make them Suffer and Outflank. Make them Suffer is almost a no-brainer for the Viks and I figured my non-Vik models could secure the Outflank Scheme.


Opponent’s List

Tara
- Dead of Winter
- Eternal Journey
- Obliteration Symbiote
Nothing Beast
3x Void Wretches
2x Death Marshalls

John, my opponent, wanted to get some more practice in with Tara so that’s who he went with. For the most part it was a pretty standard Tara list, although after our game he did say that he’ll probably swap something out to get some extra punch in the crew. I also suggested adding Oathkeeper to the Nothing beast, which I’ve seen work to good effect in the past.

For schemes, John decided on Outflank and Breakthrough.

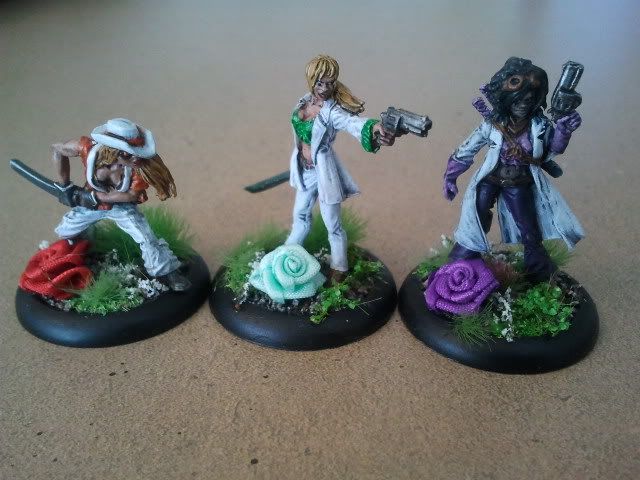
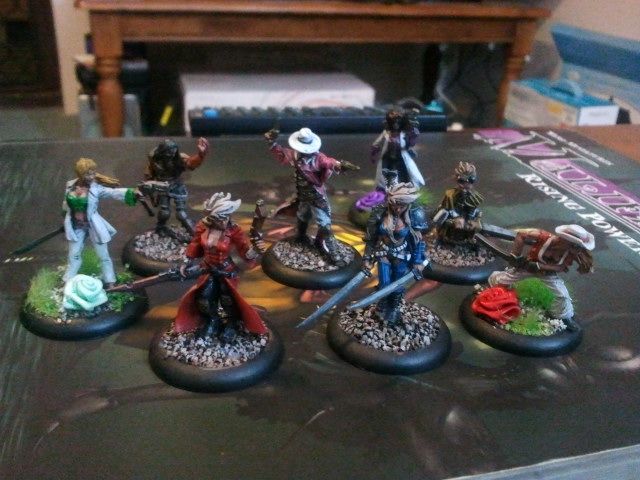
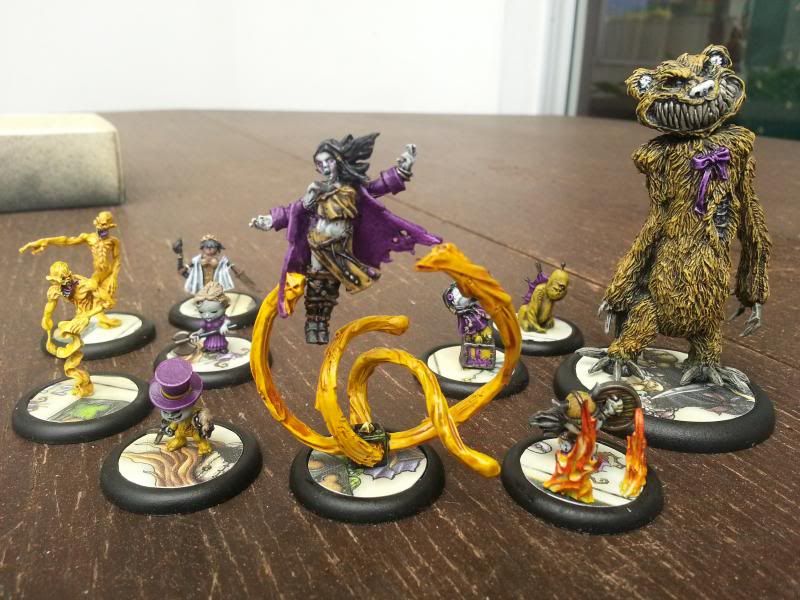
The Orange, Green and Purple Power Rangers...yes, that's the crew's theme. ;)

Result

The game was actually almost decided on the first turn, when a reactivated Tara unburied the Nothing Beast to charge Blood Vik. Flipping double severe on the negative flip almost killed her, but he failed to connect with the last attacks to finish her off. On the second turn I thankfully got initative, and proceeded to pull Blood Vik back to safety and annihilate the Nothing Beast with her Sisters-in-fury/Mark-of-Shezuul powered melee attacks.

After that, and with John left without an alternative heavy hitter, it was mostly a cleanup job for the Viks, as they cut their way through whatever they could reach. Bishop was temporarily locked in a Death Marshall’s coffin for two turns until he was rescued by the Blood Vik Slaughtermachine, The Ronin eventually went down to Void Wretches and by the end of the game, Tara was left alone, planting scheme markers for breakthrough while a Convict Gunslinger Rapid Fired uselessly at her.

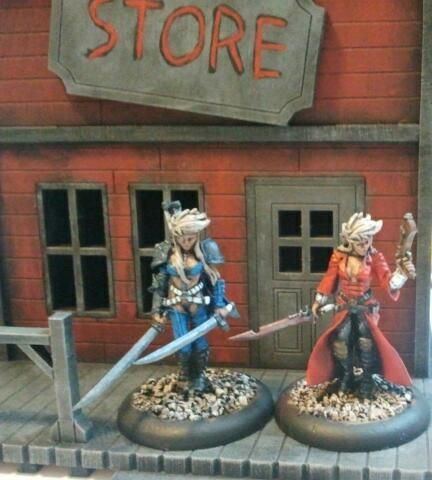
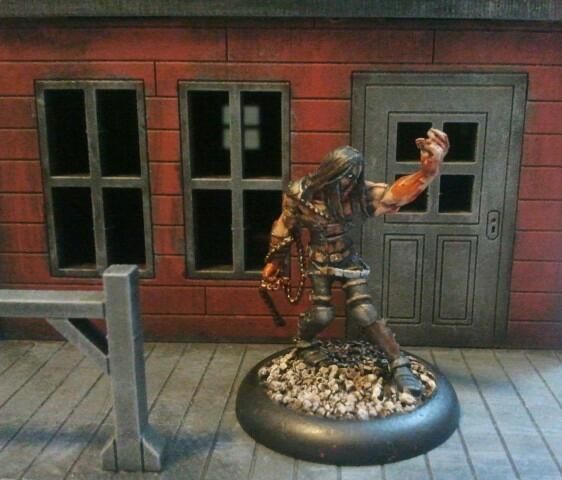
When a problem needs a fixing, you call Bishop.

Post-game Thoughts

Glass Cannon – I don’t think there’s a more apt description for the Viks. Between the two of them, the Viks were able to hunt down and easily kill any model within their threat range. In fact the only reason Tara lived was because she sprinted away and the game ended before I could bring the Twins to bear. Conversely, the Turn 1 showdown between Ash Vik and the Nothing Beast really highlighted how vulnerable they were to a counter-attack. Admittedly John got lucky when his first attack dealt severe damage on a negative flip but if he’d hit Ash Vik a little more consistently, taken the Oathbreaker upgrade or gotten initiative on Turn 2, Ash Vik would have not have survived and the game would have been much closer. So the morale of the story here is not to let your opponent get the jump on your Viktorias!

As it turns out, the Malifaux Child was not quite as useful as I’d hoped. His healing action (together with Blood Vik’s heal from Into the Fray) helped Ash Vik recover from her run-in with the Nothing Beast and get back into the fight. However I wound up using “Just like You!” to cast Sisters in Fury (for +2 Dg) far less often than I thought I would. In most turns I was attempting to activate the Viks as soon as possible, so spending that extra activation to “prime” them with a Malifaux Child just wasn’t worth while. I still don’t regret taking the Malifaux Child over a Student of Conflict (who would have had the same problem – activating before the Viks to hand out Fast), but he’s certainly less useful than I thought he would be.

While it did take me a while (not to mention some thread-reading!) to figure out how I wanted to equip the Viks, I was pretty happy with the upgrades eventually did choose. The insane damage potential I got out of Blood Vik was thanks in no small part to Mark of Shez’uul, Sisters in Fury and Oathkeeper. And while it basically cost me 3SS and two upgrade slots, the ability to Slingshot Blood Vik to where I needed her with Sisters in Spirit and Synchronised Slaying was well worth the expense.
The alternative setup I was thinking was to basically replace Sisters in Spirit and Synchronised Slaying on Ash Vik with Oathkeeper and something else. The idea would have been to ensure that the two Viks were able to work independently of each other, so that if one died I hadn’t spent a bunch of soulstones on upgrades that only worked when the Viks were paired up. I’m not convinced it’s as good as the setup I chose for the game, but it still might be worth a try some time.

For the rest of the crew, they performed okay, but their own efforts really paled in comparison to the Viks. Both of the Ronin got themselves killed and when the Convict Gunslinger brought his guns to bear, he had to either shoot into combat (and hit the poor Ronin more often than not) or shoot at Tara (who’s notoriously good at redirecting shooting attacks through the hole in her chest). Bishop did well, taking down a Void wretch but ended up stuck in a Death Marshall’s coffin for the next two turns. Once he was finally rescued by Blood Vik he was nowhere near the enemy, so he spent the last two turns scampering off to claim a VP for Outflank. I still love Bishop and in fact he remains one of my favourite Mercs, but the Viks really didn’t leave him with much else to prey on!

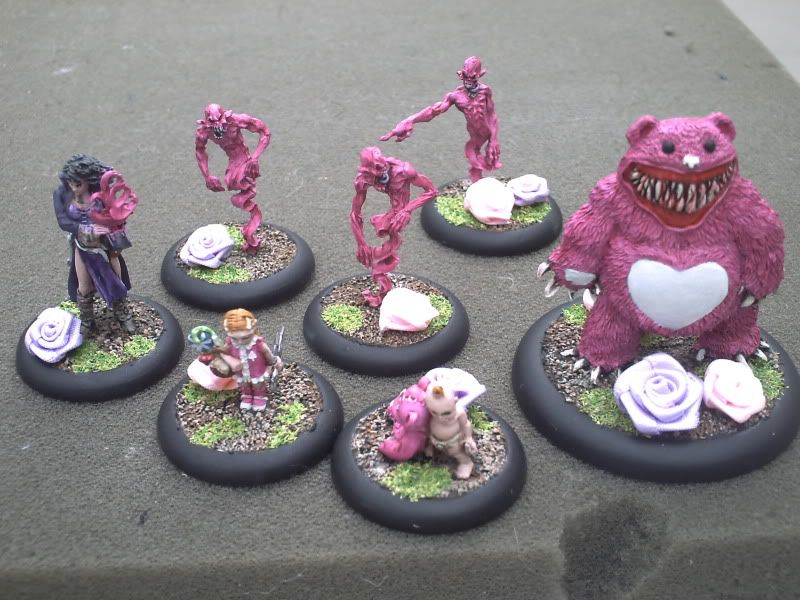
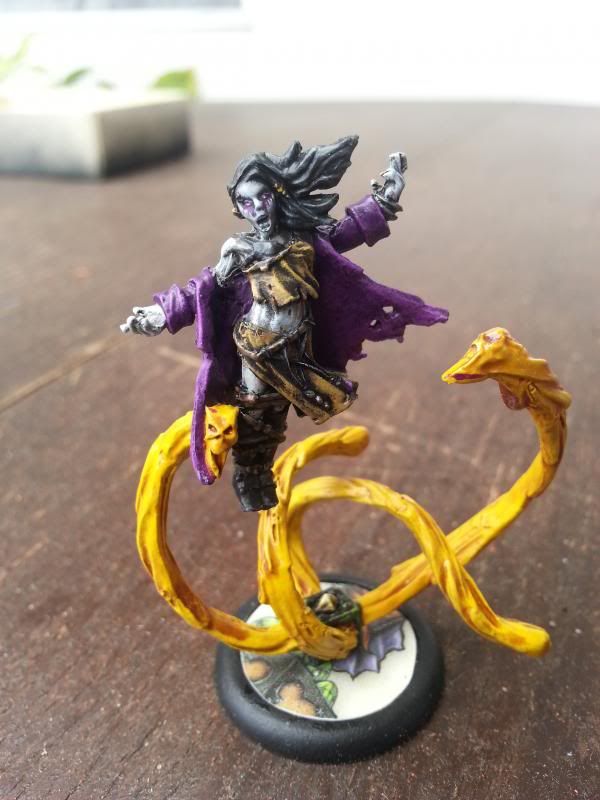
An old pic of the crew, but much nicer than the recent one!

Final Impressions

Overall, I feel like the Viks have much more depth to their playstyle than they did in 1.5. Their various tactical actions and abilities really make you think about when you activate each Vik and where you want them relative to each other, especially when they’re so vulnerable themselves. But when it comes down to it, there’s still little more to them than just killing things. There’s no doubt that they do it extremely well, but I feel like it’s a kind of playstyle that I’d get tired of after a while.

Probably the biggest saving grace of the Viks’ one-note playstyle is the Mercs they tend to take in their crew. I often think of the Viks as a crew of heroes, since the available Mercs tend to be both oozing with personality and have very unique playstyles. So while the Viks might not have much else to them, the variety of different playstyles on offer with the Mercs they hire keeps the crew interesting.

Anyway, at this point I feel like the Viks are a crew I’d want to use only occasionally. They’re great fun to throw on the table but much like chocolate, there’s only so much Sister-related carnage that I can take! Compared with the other Outcast Masters I’d rate them as my second least favourite at the moment, right in front of Von Schill. I really hope a game with Von Schill will change my low opinion of him but that, of course, if for another blog post!

Till next time,

Adrian

Sunday, 12 January 2014

All the Cool Kids play Seamus


For some reason, Seamus is easily the most often used Master in my local area. I must have played against him at least half a dozen times over the past few months and at a recent tournament, 3/13 players brought Seamus. The positive of all this is that having played against him so much, I feel like I have a pretty good idea of how he works. So last Tuesday for the Rainbow Challenge, I grabbed my Seamus crew for a match against fellow gamer Chris Poli and his Chuck Norris Von Schill crew.


The Advice

So with each Master I play through I’m hoping to start compiling a list of threads, blogs and other web pages that discuss tactics for that Master. Here’s what I found with a quick search – if you have any others you’d like to point out, make sure you post a link in the comments section!


The Game

45 SS
Standard Deployment
Reconnoitre
Schemes:
- Line in the Sand
- BodyGuard
- Breakthough
- Cursed Object
- Frame for Murder

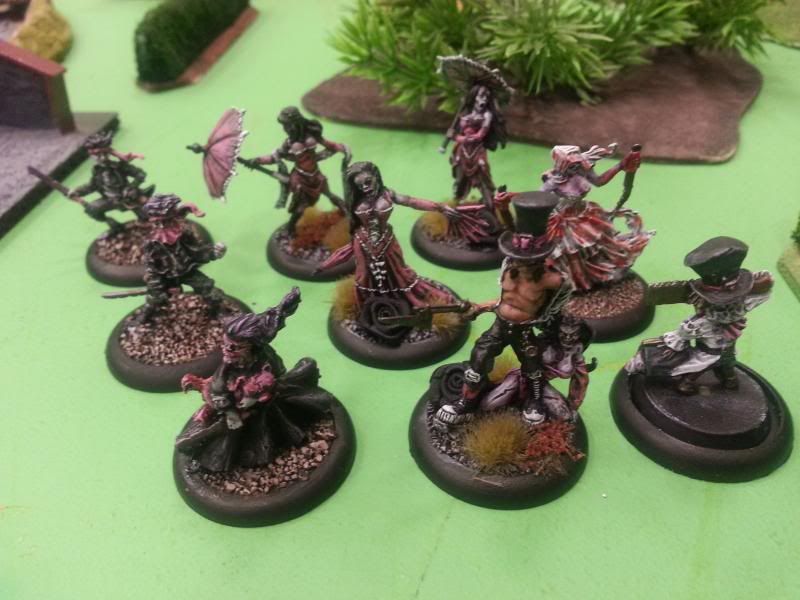
Evil Dead Seamus with his ladies and...children?

The List

Seamus
- Redchapel Killer
- Sinister Reputation
- Spare Parts*
Copycat Killer
Bete Noir
3x Rotten Belles
3x Crooligans*

* Both Spare Parts and the Crooligans were from the 12/31/2013 version of the Wave 2 Playtest.

So I generally went with numbers to help achieve Reconnoitre, with Bete Noir as my second heavy hitter to take out anyone who tried to hunt down my Crooligans. With Seamus I wanted to focus mostly on utilising shooting, with Redchapel Killer to help with the mobility and Sinister Reputation for a bit of extra protection (also because it’s 1SS and if I’m not taking Bag of Tools, why wouldn’t I take this!). Spare Parts was taken because it gave me an additional summoning option (Extra Pieces is longer range and a (1) action rather than a (0) for Arise my Sweet). But more importantly, it gave me a chance to pull out my freshly painted Rogue Necromancy!

With Seamus committed to shooting I tried to pick my crew to ensure that they won’t get in his way by getting stuck in melee with his target/s. This was part the reason why I went with the Crooligans (thanks to their Always on the Move ability), but the Rotten Belles with their Lure should also prove useful.
The schemes I chose were Breakthrough and Cursed Object, both of which were well suited to the Crooligans. If worst came to worst though, I figured Seamus and Bete were both capable of achieving Breakthrough and the Belles could help with Cursed Object.

Opponent’s List;
Von Schill
- The Shirt comes off
- Hard and Relentless
Steam Trunk
2x Freikorpsmen
Freikorps Specialist
Bishop
Taelor

I offered Chris the chance to use some of the Wave 2 Freikorps but he instead decided to give Bishop and Taelor a shot, both of whom have proven to be really solid models in the new rules. Since he knew he’d be facing Seamus, the Anti-Terrifying upgrade Hard and Relentless was a natural choice but other than that, he went with a standard Von Schill crew.

For Schemes, Chris chose Frame for Murder on one of his Freikorpsmen and Bodyguard on Taelor


Result

For Seamus, this was essentially an exercise in Lure & Kill. Over the course of the game my Rotten Belles lured in a Freikorpsman, Von Shill himself and eventually the second Freikorpsman into range of Seamus and the Copycat killer, who in turn shot them all with Focus Strikes. My Crooligans managed to get cursed object off on at least 4 models, but thanks to Always on the Move were able to otherwise avoid the enemy (although one managed a very luck escape from Taelor) to place my scheme markers for Breakthrough. The centrally placed Crooligan was killed by Bishop (not before giving him a cursed object though!), only to be Paralysed, slowed and almost killed by the Crooligan’s replacement - Bete Noir. Bete herself didn’t manage to finish off Bishop, and in fact was buried after Bishop “killed” her with his Cage Fighter trigger! By this point in was Turn 4, with Bishop prepared to rampage through some Belles, Fortunately this was the turn in which Seamus summoned a Rogue Necromancy, who then finished off Bishop and in turn 5, killed Taelor with the help of a companioned Belle to strip away that last wound.

The Game ended with me having lost one Belle (twice, to the same Friekorpsman!), a Crooligan and the Copycat Killer, while my opponent was left with a Freikorp’s Specialist who’d been chasing after one of my Crooligans (unsuccessfully, I might add!). Chris had scored Frame for Murder and Bodyguard (on Taelor in Turn 4) for 4VP, while I’d achieved all my objectives for 10VP

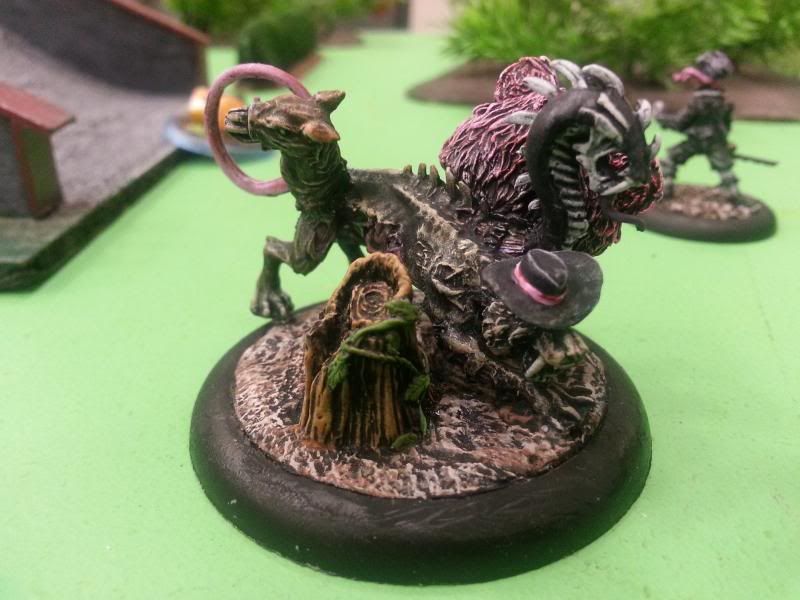
 Because the original Rogue Necro didn't look ridiculous enough...

Post-game thoughts

Before going into this game I’d initially envisioned Seamus making heavy use of Back Alley to kill chunks of Chris’s crew, while summoning Autopsies and Rotten Belles to help achieve Reconnnoiter. In actual fact, he wound up walking once or twice, then spending the rest of the game just shooting his 0.50 Flintock at the models his Belles Lured into range. It obviously worked really well, but I feel like I didn’t get the full “Seamus Experience”. I never got to use Back Alley and I only summoned one Belle. Aside from the few shots Von Shill tried throwing his way there were very few Terrifying checks and his legendary resilience was never put to the test. Still, even without his other tricks. Still, he fulfilled his task of killing my opponent’s models, so I guess I can’t complain.  

At least with the version I played, Spare Parts was well worth the upgrade slot. Even just the chance to summon a Rogue Necromancy is fantastic, and his appearance ensured the death of both Bishop and Taelor in the last two turns of the game. I also seriously considered taking Maniacal Laugh instead. It’s actually one of my favourite Resser upgrades, both for it’s awesome name and the ease at which you can summon a horde of cheap zombies to clog up your opponent (at least in theory). Unfortunately it wasn’t going to work well in this game, since they’d prevent Seamus freely shooting any models they’re engaged with and they couldn’t count for achieving Reconnoitre. I also didn’t have any Zombie models I could use. :P

For the rest of the crew, I had no complaints. Rotten Belles are still the Lure Machines I know and love, Bete Noir is a fantastic melee machine and the Crooligans proved to be my MVPs – having successfully achieved both of my schemes. Pre-game I was trying to decide between taking Necropunks and Crooligans. Both seem to achieve the same role but do it in different ways, with the Necropunk being more card intensive and an extra SS, yet a little faster and tougher. If it was just Breakthrough I wanted to achieve then I probably would have stuck with Necropunks, but Crooligans seem very well equipped for With Cursed Object and hey – I wanted to use my freshly painted models!

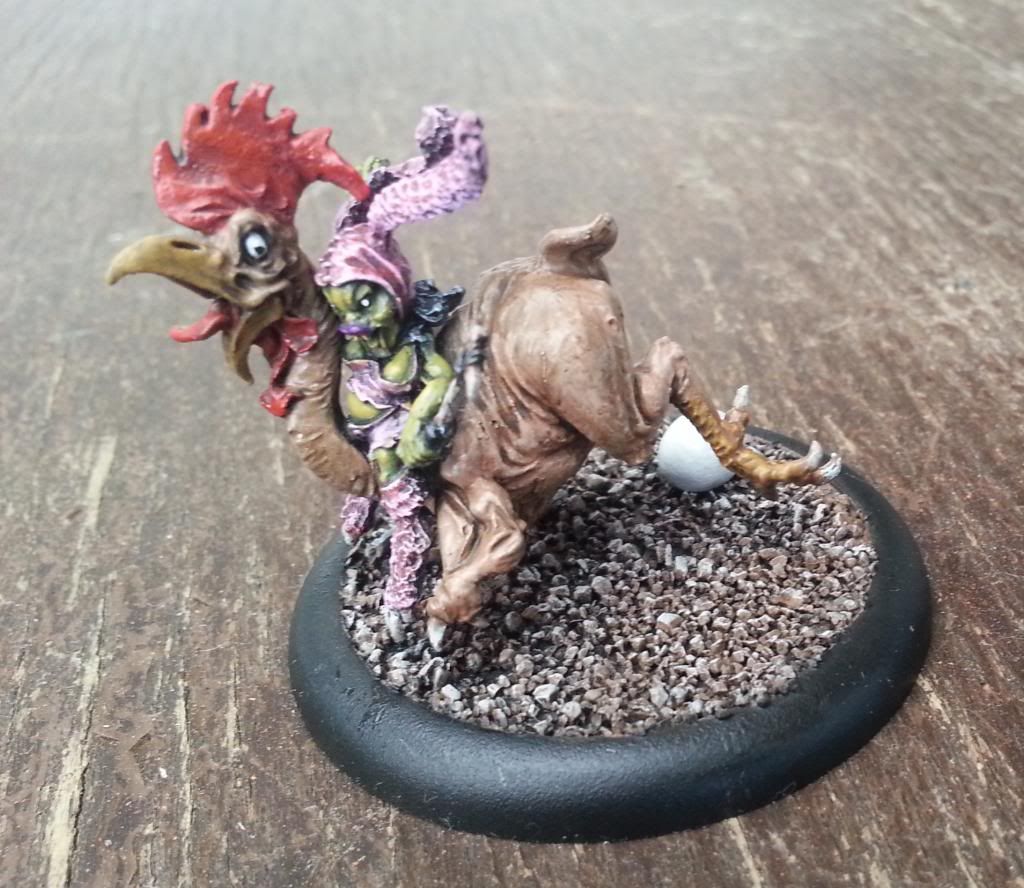
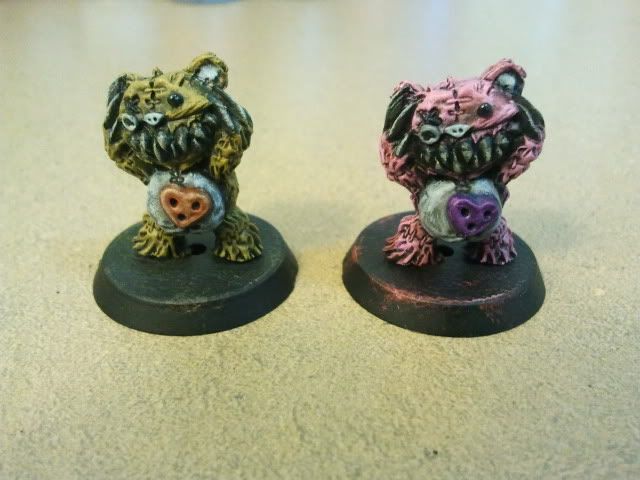
...also I had a spare Nightmare Teddy head, and the butt-horse was just funny.

Final Impressions

So overall, did I enjoy using Seamus? Absolutely. I’ve always liked the mobility tricks his crew have offered and in M2E he’s really come into his own, being a resilient little bugger with a lot of flexibility in what he can do. At this stage, he remains my favourite Resser Master although he might have some competition when I finally give the two M’s (Molly and McMourning) a run!

Until next time,


Adrian

Monday, 6 January 2014

Slumming it with Zoraida


And so it begins…

Well my probably unrealistic challenge has begun, and as it turns out my first Master to be ticked off is Zoraida! I wanted to avoid playing any more Neverborn for at least a few months but last Friday was the last day of a local Malifaux League, so I took Zoraida out of necessity. To make up for it, I figured I would take her as a Gremlin Master.

I have to say, this post will probably be a bit longer than what I intended. Reason being that I already had some existing notes on Z-dog. I actually intended to do a second post on her last year, although that obviously didn’t happen so it’s getting recycled here. ;)


The Game

45 SS
Corner Deployment
Strategy: Squatters Rights
Schemes:
- Line in the Sand
- Breakthrough
- Bodyguard
- Vendetta
- Power Ritual

The Lists

Zoraida
- Animal Shape
- Liquid Bravery
- Tarot Reading
Francois
- Dirty Cheater
- Stilts
Silurid
Nurse
Warpig
2x Bayou Gremlins

I decided on Francois and the Warpig for my heavy hitters, with the Nurse for support and the Silurid and Bayou Gremlins for taking objectives.
For the Schemes I decided to go with Power Ritual (announced) and to keep things interesting, Bodyguard on Francois. I figure with the cheap Gremlins I could achieve power ritual and squatters rights easily enough. I knew going in that Bodyguard wasn’t the best choice, but I felt like something a bit different so went ahead with it anyway.


My opponent’s list;
Seamus
- Mad Haberdasher
- Bag of Tools
Copycat Killer
Sybelle
3x Belles
2x Canine Remains
Punk Zombie

Funnily enough, my opponent also went for Power Ritual and Bodyguard on Sybelle.

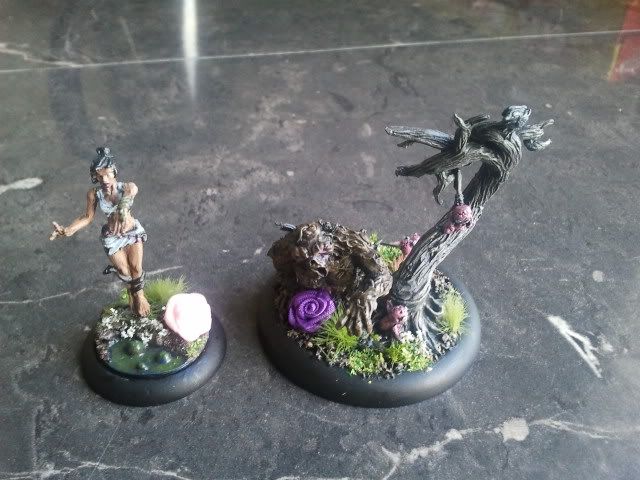
Yeah, it's a terrible photo. Sorry!

Result

During the game, I decided to run the Warpig and a Bayou Gremlin up the left flank, Francois and the second Bayou Gremlin up the right flank, and the Silurid, Zoraida and the Nurse down the centre. Seamus and most of his crew ended up piling into the flank with the Warpig, while Sybelle and a Rotten Belle matched Francois. Thanks to the Silurid and my quick gremlins I was able to easily put down the required markers for Power Ritual and Squatters Rights, although Seamus quickly identified the Silurid as a threat and killed him late on turn 2.
The game ended up going for just three turns on account of time, during which very little else actually happened. Aside from a dead Silurid and a few wounded models, nobody else took any damage. Objective-wise, I claimed 6VP (2 from Squatters rights, 3 from Power Ritual and 1 from bodyguard) to my opponent’s 2VP (1 for Bodyguard and 1 for Power Ritual).


Post-game thoughts

I have to admit the cards didn’t seem to work in my favour this game. My opponent in particular always seemed to flip high cards whenever he defended against my attacks, which was especially frustrating when my Nurse attempted to cast Take your Meds on Seamus to hopefully neuter him for a turn. He conveniently flipped a 13, dashing all hope of the Nurse successfully casting the spell.
To be honest though, the cards weren’t to blame - I made a complete mess of this game. With most of the action happening on the flanks, both the Nurse and Zoraida ended up too far from the action to do much supporting. This was probably my biggest (and admittedly obvious) lesson from this game. Despite her mobility, Zoraida can’t be everywhere at once so while in this game I tried to support both parts of my crew, she sould have just committed to one part and focussed on supporting those models. Same goes for the Nurse.

The Silurid also should have kept far, far away from Seamus. Instead of going up the centre he really needed to keep away from the action and focus on claiming objectives. That would be obvious lesson number two – assume your opponent will gun for your Silurid if you give them the chance.


The Warpig has served me well in the few previous games I’ve used him, but this time around he was definitely underwhelming. I think the crux of the problem was that he ended up getting bogged down into combat with multiple other models, where he really should be taking on a more spread out crew where his stampede trigger in particular can really shine. When I was building my list I was actually deciding between the Warpig and Pere Ravage. In retrospect I think Pere would have been a better idea. His Wp may be awful but he is still an excellent area denial tool, which in itself can keep my opponent away from a table corner and/or Squatters Rights marker. Pairing him with Francois also would have allowed me to throw Pere in first, let him explode and then clean up the remnants with Francois. Given the interact-heavy objectives in this game Fingers would have worked a charm as well.

The one other model I want to talk about is the Voodoo Doll. In this game I cast it in Turn 1 and it helped Zoraida deal with Sybelle and a Canine remains that was threatening Squatters Rights Marker. It didn’t do much else, but I’ve used it in other games too and I have to say, my opinion on the Voodoo Doll has improved considerably.
Previously I said that while it was good, I’d generally found I had better things to do than to spend 2AP creating a Voodoo Doll. Fortunately, it’s actually a decent action to take in Turn 1. Basically spend that first activation making one Wk and then summoning the Voodoo doll 6” up the field, hopefully in range of a potential Hem Target. Zoraida doesn’t mind starting a little further back from the rest of her crew and I’ve found that the summoned Voodoo is often close enough to a potential Hem target to make himself useful from the start.
After Turn 1 I doubt I’d recast the Voodoo Doll (as I said before, I tend to have better things to spend those AP on), so once the Doll is dead, I’m not sure I’d bother getting a new one. However I’ve found that my opponents are usually too distracted trying to kill the rest of my crew to think about dealing with a Voodoo doll, especially when hurting the voodoo doll will also hurt the Hem target. So while the Voodoo doll isn’t guaranteed to survive the entire game, it’s at least going to last for most of it.

Now that I’m using the Voodoo doll, I’m starting to see a lot more value in Zoraida’s Tarot Reading, purely for the Mend Action. Healing the Voodoo Doll back to full should both keep it in the game longer and allow me to abuse it all the more. 2SS is still a bit steep just to heal a Voodoo Doll though, so in the future its value as an upgrade will probably depend on how much use I can get out of Fickle Winds of Fate and Bayou Servants. The former is still pretty situational depending on schemes, but I suspect Bayou Servants will prove much more useful with all those new Swampfiends in the Gremlin Faction!


Final Impressions

This is the bit where I talk about what I think of the Master now that I’ve played him/her. Of course in this case, I’ve already played Zoraida quite a lot and honestly, I still love her to bits! One thing I will say though – at least in Wave 1 she still feels stronger as a Neverborn Master. Gremlins benefit a lot from Zoraida’s card drawing and obey-related tricks, while their relative cheapness allows you to take some cheap fodder to both tie up your opponent and grab objectives. But the Neverborn tend to be both more mobile and offer a better selection of high damage or high resilience models. Part of this might be my relative inexperience with gremlins compared to Neverborn though, so hopefully as I play through the  other Gremlin Masters some more I’ll see more potential for using Zoraida with the Gremlins.

Till next time,


Adrian

Monday, 30 December 2013

The Rainbow Challenge


I have a lot of Malifaux models. Close to 300 in fact! And one of the problems with having so much Malifaux goodness is that I just don’t have the time to give all of them some decent table time. Of the 23 crews I have, I’ve only played most of them once or twice, and some have yet to see any table time at all! In the past, this dilemma has led me in one of two directions;

1.       Focus on just a few Masters and get as good as I can at those.
In the past I’ve focused on Zoraida, followed by Marcus and then eventually Lucius. Then once M2E hit stores I decided to stick just with Neverborn, which is what spawned my first set of blog posts over the past few months.

Whether through design or necessity, I suspect this tends to be what most people do. Focussing on a single Master is certainly the best way to get good at that crew, but on the other hand I don’t get the chance to use most of the rest of my collection.


2.       Occasionally use Masters I’ve not played with before.
In most of the tournaments I’ve recently attended I’ve chosen to take Masters I’ve never used before. It started a year and a half back when I brought my Nightmare Dreamer crew to the Australian GT, then it was Mei Feng at Cancon 2013, Jakob Lynch at Skulls Malifaux a few months back and then most recently, So’mer Teeth Jones at another local tournament. I’ve actually enjoyed this approach immensely – it presents me with a bit of a personal challenge at the event, motivates me to paint up crews I would have otherwise left alone and effectively acts as a crash course on how to use that Master.

As it turns out I’ve had a lot of success with this approach too – most of those events I actually placed first in! So while I don’t get the chance to perfect that Master’s playstyle, it does give me a very good feel for how they work, certainly enough to compete well with.

For 2014, then, I’ve decided to take the second approach. Not only that, but to make it more of a challenge I thought I’d take the idea somewhat further…

Introducing: The Rainbow Challenge
Yeah, it’s a bit of a lame title but hey, it serves it’s purpose. ;) So for 2014, I have two primary aims;

 1. Have a painted crew for every Master in Malifaux.

 2. Play at least one game with every Master.

The idea behind this is two-fold. First of all it gives me an excuse to buy and paint even more Malifaux, as well as paint what I already have. ;) Secondly, it gives me the chance to get a good feel for every Master in the game. Not only would this help me understand how to deal with them as an opponent, but I’m hoping it will also help me understand their appeal. For various reasons I’m not a massive fan of some Masters, so this challenge may help me see them in a better light.

In total there are 39 Masters available in the game, including 10 dual faction Masters. If I can I’d like to get a game for each of latter in both of their factions, but that will depend on whether I have the time. Realistically though, the biggest challenge will be in acquiring and painting the crews I don’t own, so it might pay to see just how much work I have ahead of me…


The State of the Collection.

I think it’s time for a Table!

Rathnard’s Masters

Complete (19)
Incomplete (6)
Yet to Buy (8)
Unavailable (6)
Lady Justice
McCabe
Sonnia
Toni
Perdita
McMourning
Hoffman
Brewmaster
Lucius
Yan Lo
Nicodem
Mah Tucket
Seamus
Molly
Kirai
Wong
Tara
Rasputina
Ramos
Ulix
Marcus
Von Schill
Colette
Shen Long
Mei Feng

Misaki

Kaeris

Hamelin

Pandora


Lilith


Zoraida


Jakob Lynch


Dreamer


Collodi


Viktoria


Leveticus


Jack Daw


So’mer


Ophelia


So the Complete Masters are those whose crews are fully painted and ready to play. In some cases I might want to add one or two models before I put them on the table (like finishing off the Young Lacroix for Ophelia), but otherwise they’re playable. I should probably note that Jack Daw is only on this list thanks to the efforts of Paul (abraxis04), who’s been generous enough to paint and send me a Jack Daw crew for the Christmas exchange!

The Incomplete Masters are those who I own but still need to be assembled/painted, or in the case of Von Schill, I still need to acquire a few more models to make the crew complete. These should be relatively easy to finish off.

The Yet to Buy Masters are self-explanatory – I simply still need to purchase them.

Finally, there are the Unavailable Masters – those Masters who don’t yet have an available crew box for sale. These are going to be the toughest – even if some of them are available at Gencon 2014 I’ll still need to find suitable proxies for some, if not all of these crews. I have some ideas on what I could use to proxy some of these (Brewmaster’s crew is practically sitting unassembled in a bag on my desk), but others are going to be tricky. Ultimately I’m waiting to see the art for these models before figuring out what I could possibly use as a proxy.

Anyway, that’s where I’m at. Wish me luck, and enjoy the New Year!


Adrian

Wednesday, 25 December 2013

Rathnard Does Neverborn – Pandora


Well, so much for posting an article every week! Despite my best intentions, life once again got in the way and it’s taken me freaking ages to finish this blog post off. In any case, I hope I can make it up with this blog entry because oh boy, it’s a big one, clocking in at almost 3500 words! So strap yourselves in, grab a cup of coffee (or your liquid beverage of choice..), and prepare for some serious verbal diarrhea, because I’m gonna talk about Pandora.


In the Beginning…

As I said before, Pandora was my first Master. When I picked her up Malifaux was only a few months old and players were still getting the hang of the game. Back then, community wisdom had decided the “Top Tier” Masters to be Lilith and Perdita (both were considerably nastier before their first errata). Pandora on the other hand, was initially considered a lower tier master. She wasn’t easy to kill, but nobody had truly appreciated the potential of her “nickel and dime” damage output. It didn’t take long for that to change, of course, and while her power level was toned down somewhat she remained one of the least fun Masters to play against in Maifaux 1.5.

Fast forward to M2E, is Pandora thankfully lost a lot of what made her unfun. The nickel and dime damage is still there in the form of her Misery ability, and in fact with enough Sorrows around (also with Misery) she’s capable of dealing massive amounts of damage each activation with her variety of Wp-based attacks. Her free pushes from movement from Fading Memory have also been toned down somewhat – short of any out-of activation Wp-duels (like if someone attacks her) she’s usually  only going to get two free pushes – one from winning an incite duel and the other if she makes the trigger to recast incite. Perhaps most importantly though, Pandora has become much less frustrating to kill. Models used to need to pass a straight Wp-duel with Pandy just for the privilege of targeting her, failure of which would result in them suffering a wound. But in M2E, she can now just uses her Wp instead of Df in opposed duels and the wording on Misery means that the attacker won’t take damage if they fail.

So overall, while she’s not nearly as horrible to face as she used to be, from the reactions of my opponents she’s still an intimidating Master to face.


The Magic of Misery

The most obvious aspect of Pandora’s playstyle is undoubtably her fixation on Wp duels, whether it’s for offense, defense and in the case of Fading Memory, mobility. My main approach with Pandora has been to put her into harms way, follow up with sorrows and use those overlapping Misery auras to deal 3-4 damage with each failed Wp duel from Pandora’s attacks (usually Incite to get within 3”, then Self Loathing). I’ve found that even a pair of sorrows is enough for Pandora’s attacks to wipe out 2-3 models each turn, provided they’re foolish enough to get within striking distance.

It’s her lethality within those Misery bubbles that has encouraged me to think of her as an area denial tool. Nobody really wants to go near her, so parking Pandora on a Turf War marker or something similar seems to be the best way to use her. Either your opponent sits back and allows you to claim those VPs unmolested, or they try and engage her and get pounded in the process.

Defensively, Pandora’s been a hard nut for my opponents to crack. She’s got an impressive Wp of 7 to defend against any opposed duels and any time she wins a Wp duel she can push 4” with Fading Memory. Her main weakness comes has come in the form of irresistible damage (such as from blast attacks directed at nearby sorrows)


Going it Alone

In my games thus far I’ve been able to bring both the Sorrows and Pandora to bear on her victims to quickly take them out, but to be honest I’ve yet to face someone who’s appreciated just how important it is to take down the Sorrows. I’m sure I will at some point so when that happens, there’s a good chance that Pandora will have to do her thing without any support from her Sorrows.

To be honest I’m not too concerned about such a scenario. Without the Sorrows she won’t be cutting a swathe through enemy models, but her Self Loathing attack plus Misery should still allow her to dish out some good damage. That will be especially true against glass cannon-type models (ie. high damage, low resilience), and anyone with a low wound count (ie. 4 or less).


Spreading the Pain

At first I thought Martyr was a bit of a dud ability. Situationally useful perhaps, but otherwise something I would normally ignore in my games. After all, why would I willingly hurt my own master in order to minimise damage on the less important members of my crew? In practice however, Martyr is actually very useful. Thanks to their Misery Aura, Sorrows tend to be a high priority target for my opponents. Incorporeal tends to mitigate some of the damage, but with Martyr most attacks against the Sorrows will be reduced to 1 or even 0 damage, greatly improving their lifespan. Even better, if you can reduce the damage to 0 on the Sorrow it also negates any “after damaging” effects or triggers. I found this especially valuable in a game against Mei Feng. Not only did it keep the sorrow alive long enough for Pandy to do her work on Mei, but it effectively negated her triggers, almost all of which are an “after damaging” effect.


Because being a little bit Miserable isn’t enough (Upgrades)

I’ve found that while Pandora is more than happy to fill out her upgrade slots, she tends to be limited not by the number of slots, but by her available soulstones. Most of the time I strive for the full three upgrades, but more often than not I find myself dropping one of the three to give myself at least one extra soulstone (I rarely like to start with less than 4 in my crew) or to fit in that third Sorrow.

Pandora’s two limited upgrades seem to offer you a choice between adding to her defense (The Box Opens) or offense (Voices). The main benefit from Voices is the getting the Mental Anguish trigger to paralyse enemy models. That in itself is amazing, but in every game I’ve taken Voices, I’ve wished I’d taken The Box Opens for additional protection that Terrifying 13 grants. If nothing else it tends to make me feel a little safer when I throw Pandy into danger, plus it both helps to drain my opponents hand and add some extra damage from the failed Wp duels.
As for the other ability/action that these upgrades grant (specifically, There is no Shelter Here and Those who Dwell Within), I’ve honestly never found myself using them. When I take these upgrades, it’s only ever been for the Paralyse trigger or Terrifying.

Cry for Me is my favourite upgrade for Pandora – I shouldn’t need to tell you how nasty a negative twist on your opponents Wp duels is! If I have the soulstones I definitely try and fit this upgrade in, especially if I can combine it with lots of terrifying effects (such as from The Box Opens) or Wp-based attacks from other models (such as with the Depression upgrade). That said, unlike The Box Opens I’ve yet to miss it in games where I leave the upgrade at home. So while I won’t deny that it’s a fantastic upgrade, it’s not absolutely necessary for Pandora to do her thing.

If you haven’t already guessed, Fugue State’s usefulness tends to be dependent on the scenario you’re playing. If you expect your opponent to be making lots of interact actions near Pandora (such as with Deliver a Message, Distract or Cursed object) then Monotony adds yet another Wp duel to punish your opponent for trying to complete their objectives. Using Nullify to make your opponent’s models insignificant appears to run counter to Monotony, but honestly I’ve found that it’s still worthwhile. Admittedly you could also get Nullify in your crew with a Primordial Magic, although the negative is that a Primordial Magic is much easier to kill than Pandy.
The catch is that if you take Fugue State in your Pandora crew, your opponent will almost definitely avoid those interact-heavy schemes. That in itself is actually pretty useful – you’ve effectively narrowed your opponents potential scheme pool and if they’ve taken a crew with the intent of using those interact schemes, they may have a lot of trouble achieving what’s left.

I initially didn’t give much thought to Depression – the Woe-only upgrade. Beyond giving Kade an easier way to get his desired crow for Sweetbreads it seemed kind of average – a take it or leave it upgrade. However after actually giving it a run it might now be an auto-include for future Pandy crews. What Depression does is it grants a 12” range, 1 AP, Wp-based attack to your Woes in the form of Melancholy. What it does is mostly irrelevant (well, unless you’ve got Candy), all it needs to do is allow you to trigger yet more damage with your Misery abilities. For most Woes it’s mostly just a neat trick to have, should they be out of position to do much else. But with no other 1AP Wp-based attack, Sorrows love having Melancholy since it basically grants them an easy way to stck on yet more damage through Misery. This was particularly evident in my last game with them, where some sorrows were able to deal use Melancoly to deal the last few wounds to Mei Feng, a Metal Gamin and a Rail Worker when Pandora just didn’t have the AP spare to finish them off.

Fears Given Form is a great upgrade, since it punishes your opponent even further for getting within Pandora’s 3” melee range. I’ve had fun with it in the past, but the fact that it also affects your own models makes it tricky to use well, especially when Pandy’s accompanied by a team of sorrows. I think it can work, but you either need to resign to using Pandy with minimal support from her crew, or be careful with your activation order, making sure to end Pandora’s activation more than 3” away from any friendly models who have yet to activate themselves.


The Totem that Grew

While the idea of a Ht 3, 50mm Totem is neat (hello Huggy!), I gave to admit it’s a bit of a pain that Wyrd increased the base size of the poltergeist. After all, now I need to replace my existing poltergiest model with something of a more suitable size. My lack of suitably based poltergeist is part the reason I’ve yet to try out the Poltergiest. The other is the fact that whenever I consider taking it, I’m faced with the duel arguments of “why not a sorrow for the same cost?” and “A Primordial Magic is both awesome and cheaper!”.

I do need to try the Poltergiest at some point. If nothing else it should be decent at taking objectives (yes – it’s a non-insignificant totem!) and the negative flip to Wp duels from Distraction is a powerful effect for a crew like Pandora’s. That said, once again, I’ll probably wait until I have a suitably based model to proxy it before I give the Poltergeist an honest run.


Pandora Lite

I have a tendency to think of Candy as a tiny, adorable henchman version of Pandora, but to be honest that’s doing a disservice to what she actually does. She has Pandora’s Self Loathing attack and her high Df plus Manipulative 12 makes her a bit tricky to target. Other than that, she functions more like a support/synergy piece with her heal action from Goody Basket and most importantly, her Sweets and Sours Abilities. Pandora’s crew can get a lot of ways to control the activation order of her opponent and these two abilities allow you to turn that from an annoying inconvenience to a way to severely punish key models.

It’s taken me a while to warm to this aspect of Candy but once I did, I think I’m going to have a hard time excluding her from future Pandora lists. Thanks to Candy, every Incite attack becomes a potential paralyse, and you can effectively stop your opponent activating his most important model first simply by sticking Candy next to it. That last part alone can give you a massive edge in critical turns – Regardless of whether you win initative you can almost guarantee that you’ll be able to activate before your opponent in a critical combat. Sours also allows for some irresistible damage if you can position Candy next to the last model your opponent activates. It’s not as powerful as Sweets but it does offer some nice synergy with Melancholy to force a certain model to activate last.  


Just like clay. Expensive, high maintainence clay.

There’s something about the doppelganger that just doesn’t appeal to me at all. I’ve used it in a few games now and while both Ill Omens (to cheat the initative flip) and Mimic (to copy a non-leader action) are both very good, they’re also somewhat card intensive. You’ll almost always be cheating a high card for Ill Omens and you may need to cheat a 7 to reach the TN for Mimic, with a tome if you want the extra action. I won’t deny that Ill Omens is amazing, especially if you are pairing it with Candy’s Sweets ability to control some key enemy activations. But right now, I feel like I’d prefer something that doesn’t need to burn good cards to do its thing.


Plan B

I’ve always felt that Pandy’s fixation on Wp-based attacks is also her biggest weakness. Models with an unnaturally high Wp (eg. Zoraida) or an ability like Stubborn tend to shut her down pretty hard, especially if the rest of her crew is centred around supporting Pandy or making Wp-based attacks themselves. Those sorts of models are thankfully less common in M2E, but it still hurts when Pandy’s facing a crew with a Stubborn model or two.
It’s for this reason that I always like to make sure I’ve included a “Plan B” – something that’s capable of killing or neutralising my opponent’s models without resorting to Wp-based attacks. The natural, in-theme choice for this role is Pandora’s original odd couple – Baby Kade and Teddy. While they both have some Wp-based abilities that fit well with Pandora’s usual game plan, their main, very damaging attacks are both resisted on Df.  

Baby Kade is almost the the epitomy of a Glass Cannon. With only 6 wounds and no damage mitigation he’s not hard to kill for a 7SS model, so he’s relying on his High Df and Manipulative to avoid danger. However his melee damage output is just off the chart! 1/2/4 damage on the carving knife is pretty tame to start with, but with +2Dg and Slow from the Sweetbreads Trigger and another +2Dg if he’s targeting a model that’s already engaged, his damage spread tops out at 5/6/8 with Slow! That alone is enough for me to horde my high crows for when Kade starts attacking things.
Other than that, Lure with Pounce is a handy trick to have although I must admit, I’ve yet to use it. As a (2) action Where’s Teddy has a steep cost attached, but I’ve used in the past to either get Kade out of danger or more rarely, push Teddy closer to a target that he’s well suited to dealing with. It may be a situational action, but Where’s Teddy is useful enough for me to usually take Kade and Teddy as a pair.

Teddy is almost the polar opposite of Kade, with his resliance coming not from his defense stat, but from a high wound count coupled with both regeneration and Impossible to Wound. His Hug attack is brutally simple, and has an auto-trigger that lets him push/follow his target around with each successful hit. I’ve found this to be great for getting around defensive triggers like the Gremlin’s Squeel, since Teddy will simply push back into base contact with the model that just tried to escape his grip. Gobble You Up may be easy to resist but the Push and positive flips make it a spell that your opponent will really want to throw a high card at. This is especially true when you consider Teddy has Flurry, which will potentially give him three attacks with positives to the attack and damage flips!
Teddy’s final trick comes in the shape of Smell Fear, which gives him a free, once per turn melee attack when a nearby model that fails a Wp duel. Teddy doesn’t have to hit the model that failed the Wp duel, so considering Pandy’s plethora of Wp-based attacs it should be easy to get that free attack.


Facebook Friends?
So beyond her Woes, what else works with Pandora? Well for me, there are a few that I’ve tried thus far and I feel can work really well with her.

I’ve mentioned the Primordial Magic before, and for 2SS I feel it’s a great totem for Pandy. Rush of Magic helps to improve your hand each turn and it becomes really useful for any scheme involving interact actions or scheme markers. Its ability to be a scheme marker once per game is very handy for the latter (especially for schemes like Spring the Trap), and turning models insignificant with Nullify can really hamper your opponent’s ability to achieve such schemes.

The Oiran is an amazing support piece for Pandora for one reason – Appealing, which gives a straight +1Wp to friendlies within 6”. This is good for boosting the otherwise average Wp of Pandora’s crew but most importantly, it increases Pandora’s Wp from 7 to a much more intimidating 8. This makes her harder to hit with an opposed duel and it also improves Incite, since that attack uses Pandora’s Wp for the attack.
I think Appealing makes the Oiran almost an auto-include for Pandora, but she also adds some nice defensive abilities and melee attacks as well as the always handy Lure. It may not be as reliable as the Beckoners (since it needs a suit), but I feel it’s enough to negate Pandora’s need for a Beckoner, the inclusion of which would otherwise overload her crew with support pieces.

Bishop has always been a favourite mercenary of mine, and I think he’s got a lot of potential in a Pandora Crew. Not only does he provide her with a powerful and flexible melee piece, but his ability to target Wp or Df with his Chain Wrapped fist attacks gives him both great synergy with Pandy’s Wp abilities, and allows you to use him as your “Plan B”, so to speak. He tends to compete with Teddy for a slot in Pandy’s crew but generally, I feel that he compares very well. As a general rule of thumb, if I’m taking Kade I’d prefer Teddy, but otherwise Bishop tends to be my choice for Plan B.

Finally, every crew needs access to some good objective grabbers and for Pandora, I’ve usually turned to the Terror Tot and Silurid. Neither have any synergy at all with Pandora but both independently fast, one is cheap and the other is VERY hard to catch. I’ve talked about them before in the respective Lilith/Zoraida blog posts so for now, suffice to say that they’re great choices when you need something to plant scheme markers and/or make Interact actions.


And so ends the Neverborn Challenge…
Well with Pandora done, that brings me to the end of the Wave 1 Neverborn Masters and thanks to my laziness, it also brings me to the end of the year! This whole exercise has been quite fun and if nothing else, writing my thoughts down has really helped solidify my understanding of these Masters.

But typically, I’m a man of many plans and with a new year about to dawn it’s time to move on to something else. There’s one particular challenge I’ve been hoping to set myself for some time now, so assuming I can get my act together and write it in time, I’ll be talking about that in my next blog post. ;)

Later,


Adrian